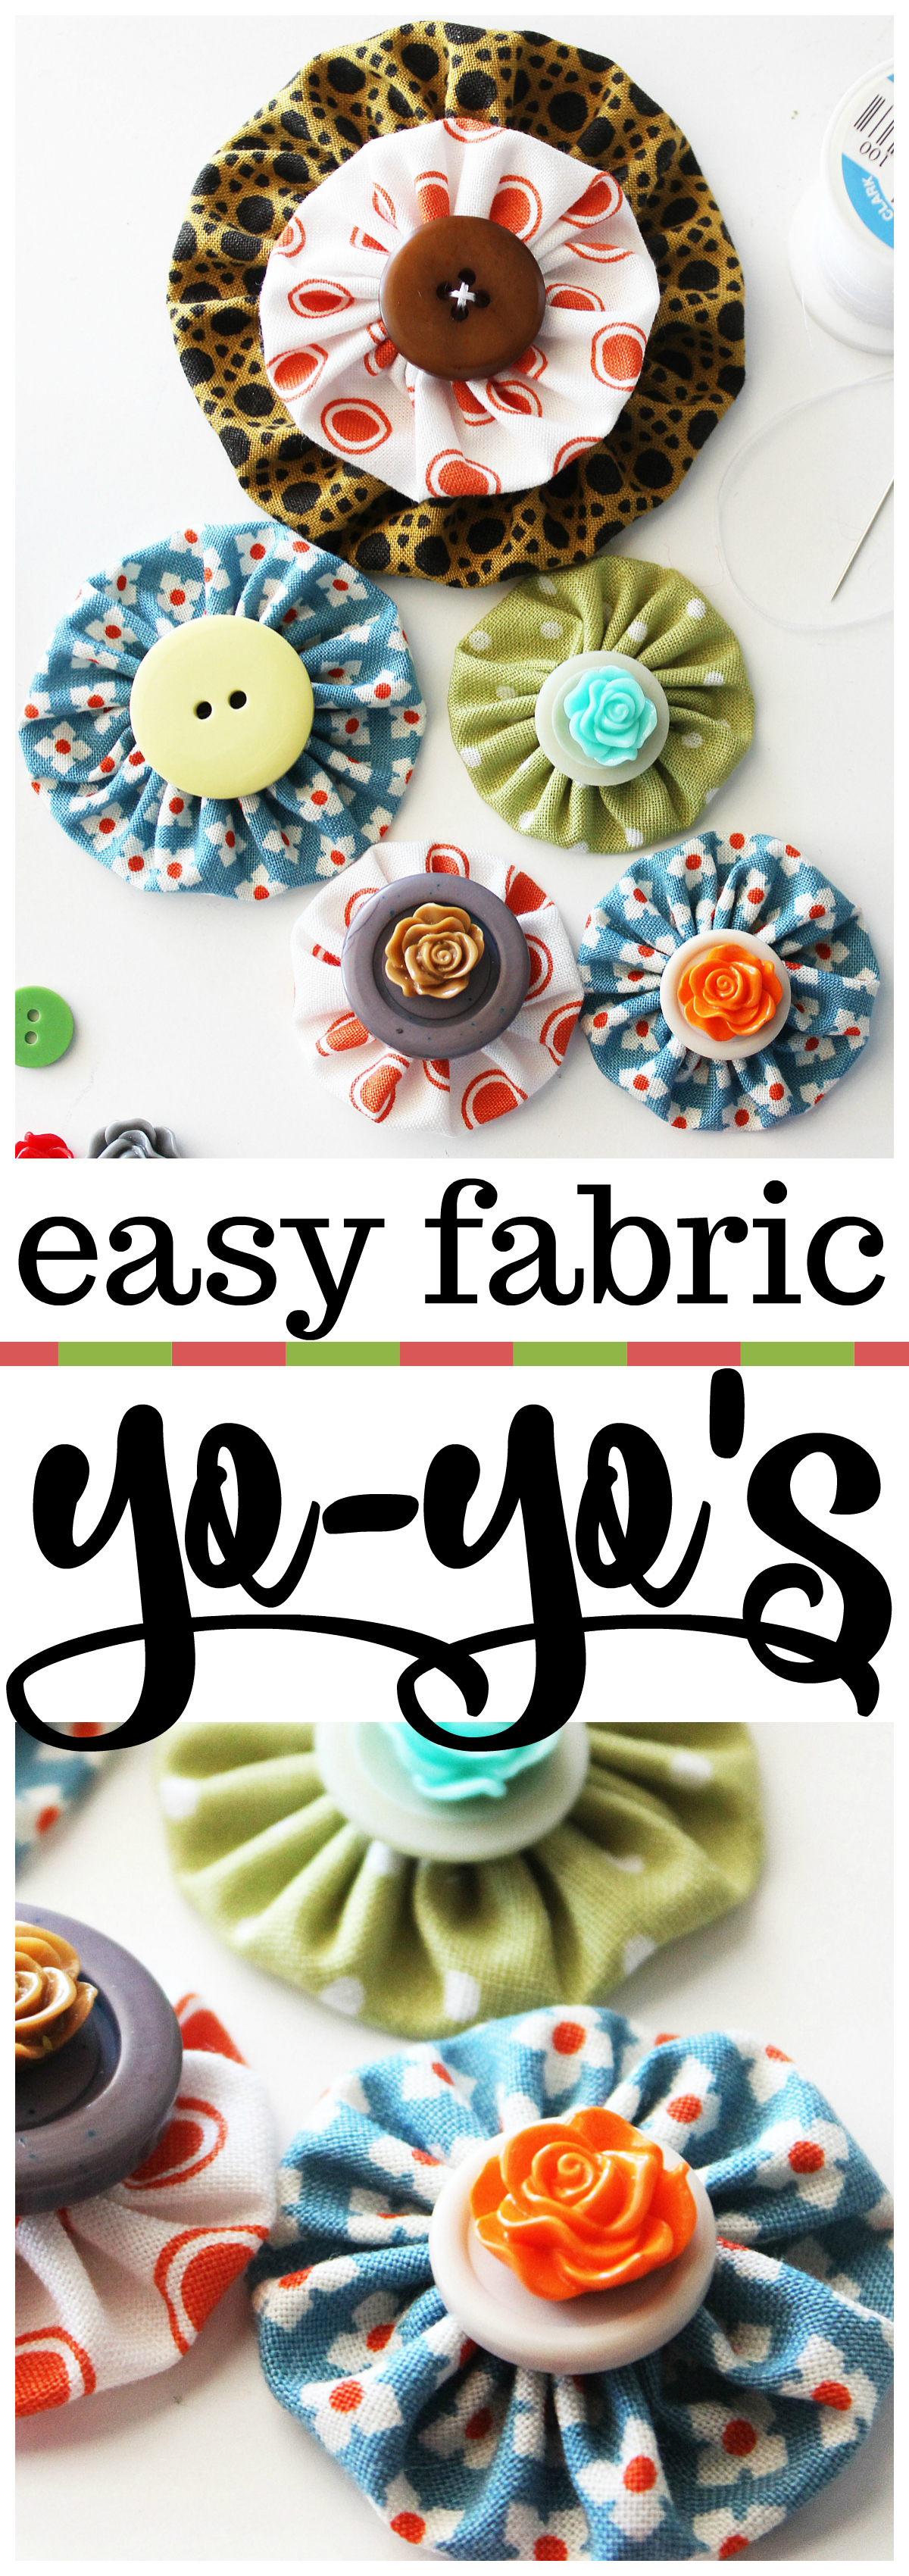
How to Make Yo Yos Quick and Easy

This easy fabric yo-yo tutorial is a neat way to employ upwardly fabric scraps. Templates to make 3 different textile yo-yo sizes and full footstep-by-step instructions included!
As you might imagine, I have accumulated quite a stash of fabric scraps over the years. Today I'g sharing ane of my favorite ways to put those scraps to utilize: cloth yo-yo'southward! Textile yo-yo's, which look something like gathered flowers, are perfect for adorning anything from wearable accessories to home decor items, and they can be whipped upward in just a thing of minutes. In this mail, I'yard providing an easy-to-follow material yo-yo photo tutorial, plus free downloadable cut templates for making yo-yo's in a number of handy sizes. Permit'due south become started!
This postal service contains chapter links.
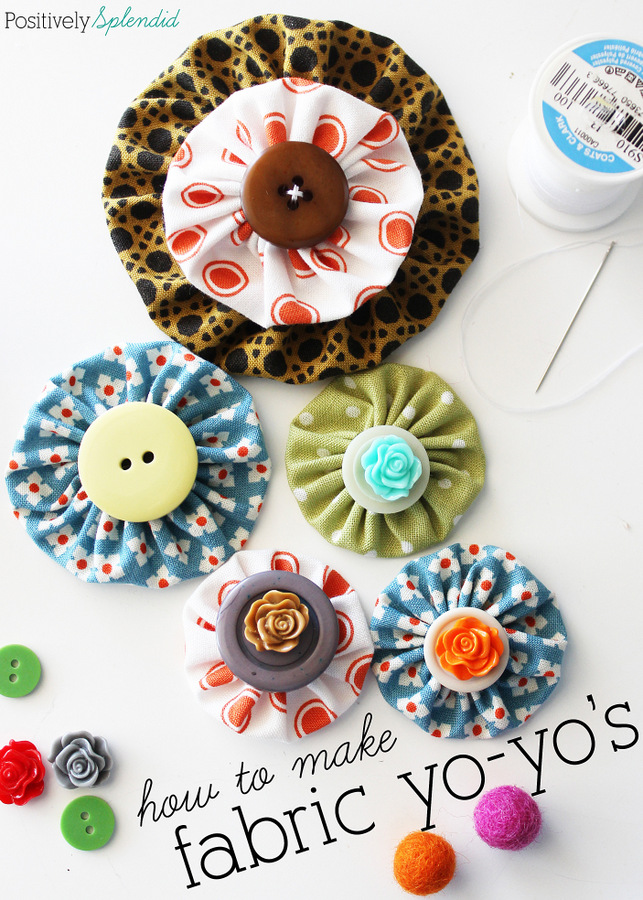
Fabric Yo-Yo Supplies:
-
Free printable material yo-yo size templates
- White cardstock
- Textile scraps
- Shears
- Washable ink marker
- Needle and thread
- Assorted buttons, flowers and baubles for the yo-yo centers
- Hot glue
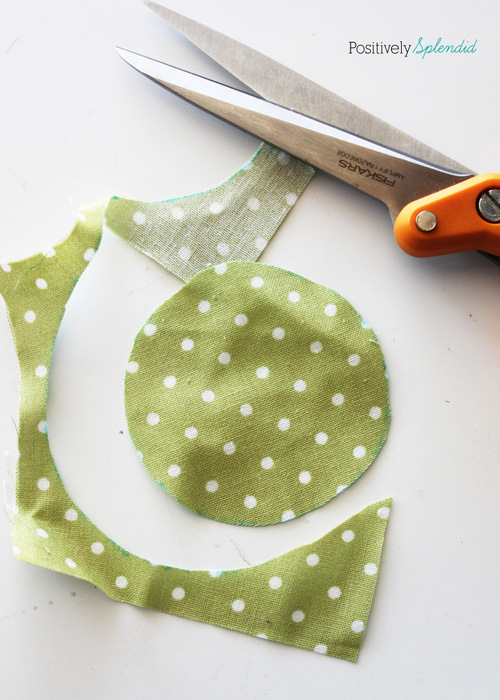
To begin, download and print the yo-yo size templates onto the white cardstock, and cut the templates out.
Notation: If you wish to make a fabric yo-yo of a size not available in the printable templates, cut a circle that is twice the measurement desired for the finished yo-yo PLUS 1/two″ for seam allowance. For instance, for a four″ yo-yo, you volition need to cut a circle that is 8.v″ (4 x two = 8 + .v = eight.5″).
Using the washable ink marker, trace the desired template size onto the wrong side of a scrap of fabric.

Use shears to cut the circumvolve out.
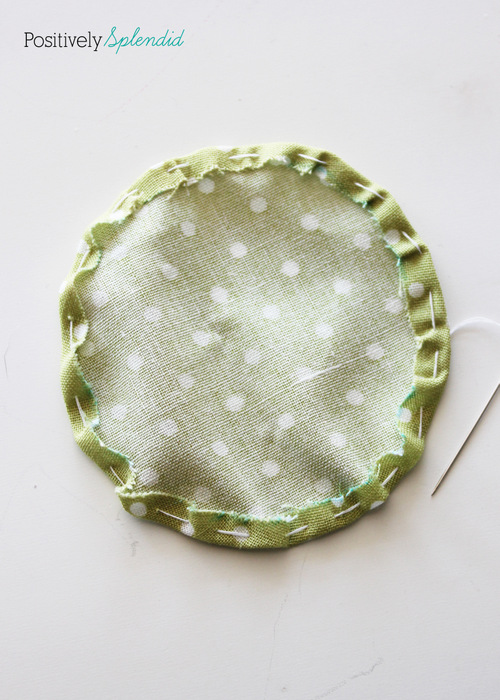
Thread the sewing needle with a double-strand of thread for added durability, and knot the end. Fold under the outer edge by 1/4″, and use a running stitch to sew forth the outer edge, as shown. Annotation: the longer the stitch length used, the smaller the centre opening will be in your finished yo-yo.
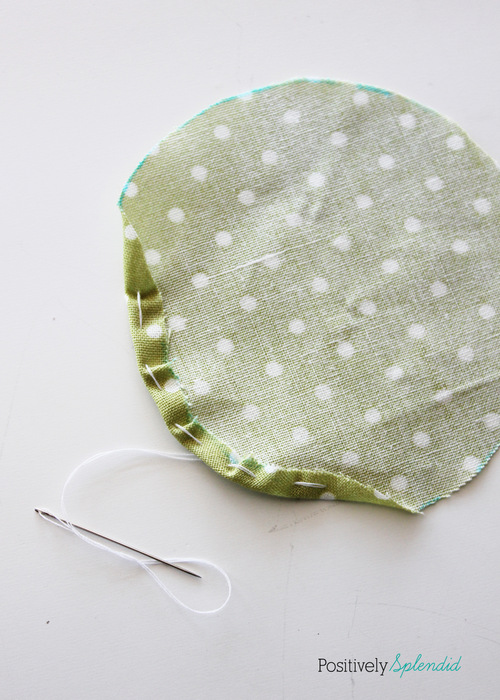
Continue folding under the outer edge by 1/4″ and stitching with a running sew until you have gone around the entire perimeter of the fabric circle. Important: Practice not snip off the needle and thread yet!
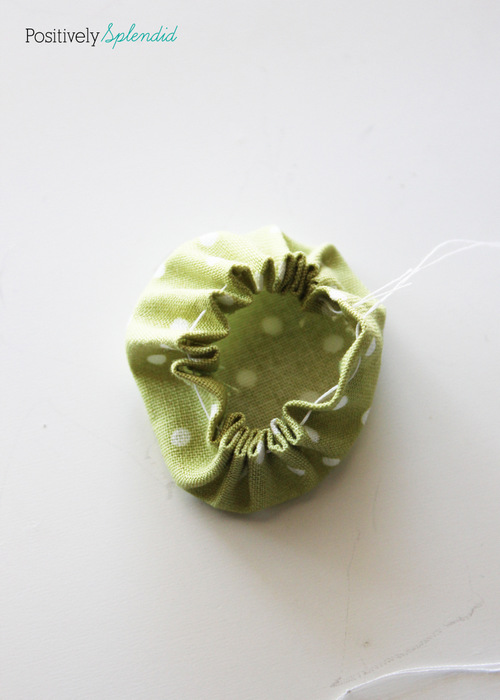
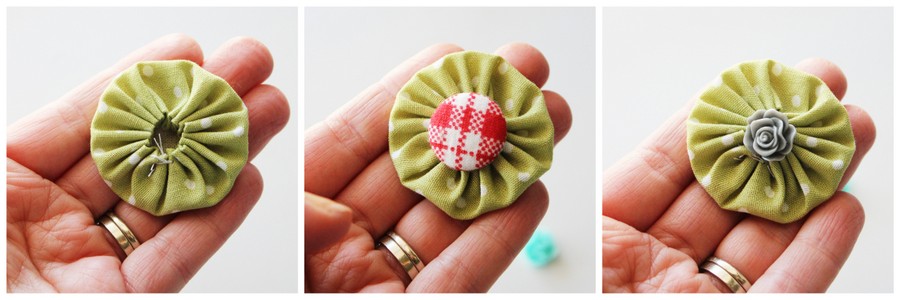
Using the needle and thread, pull gently to gather the piece at the center, as seen below. Printing the piece gently with your hand to flatten and accommodate the gathers as necessary to create a compatible circle.
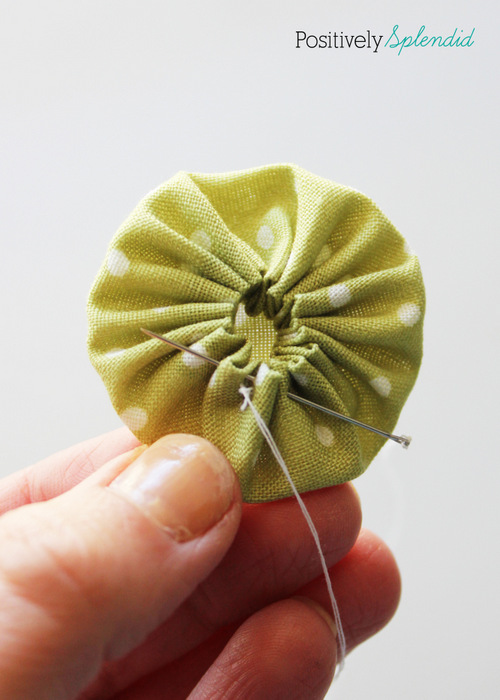
Secure the yo-yo by stitching through ii-3 of the gathers, every bit shown. Knot the terminate, and snip the thread.
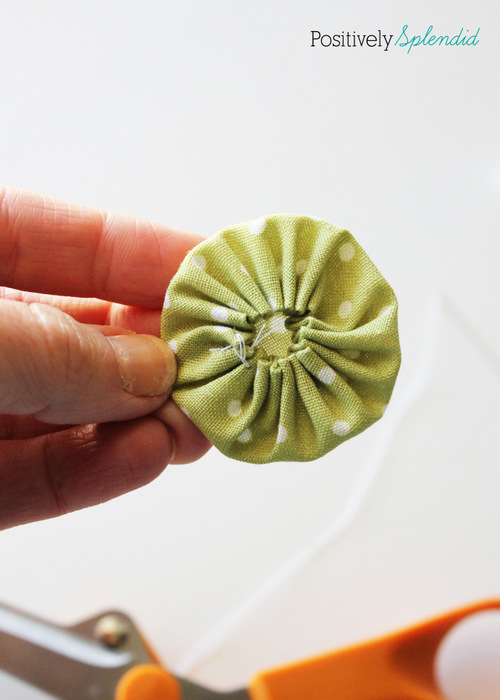
The stitching process for the yo-yo is complete! Wasn't that easy?
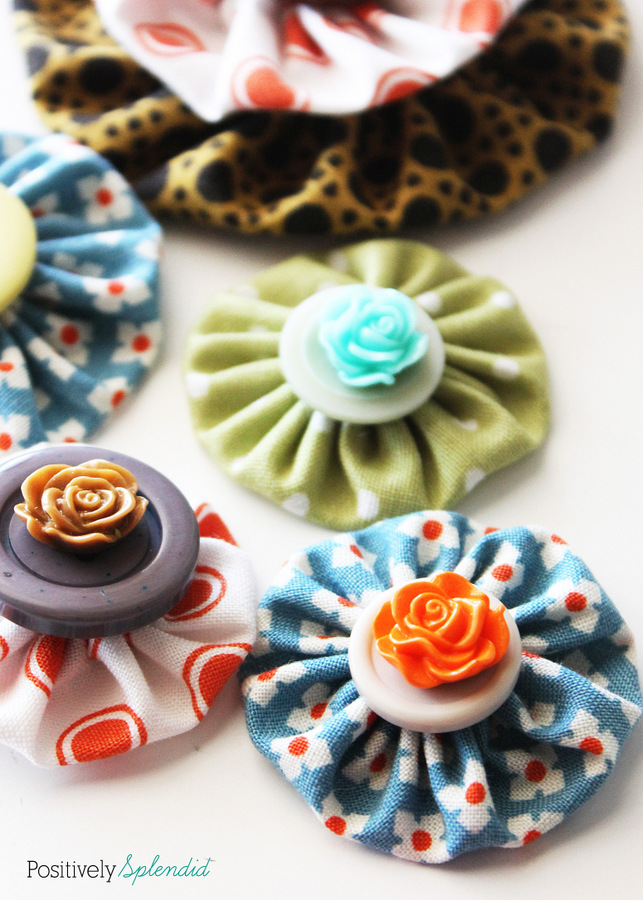
Now, add some flair to the finished slice with a cute center. Employ hot glue to affix a pretty button, cabochon or other bauble to the front of the yo-yo.
When you see how easy information technology is to make fabric yo-yo'due south, y'all'll want to brand a passel of them!
I love to add pin backs to yo-yo'southward to wear on jackets and sweaters, or to pin onto totes and purses. These are also fun attached to hair clips or head bands. There are so many possibilities!
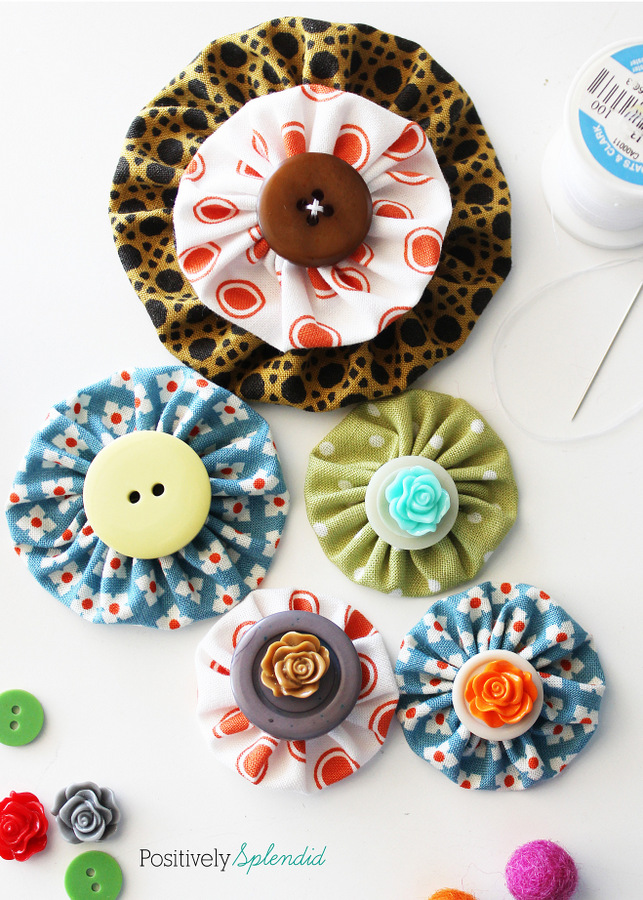
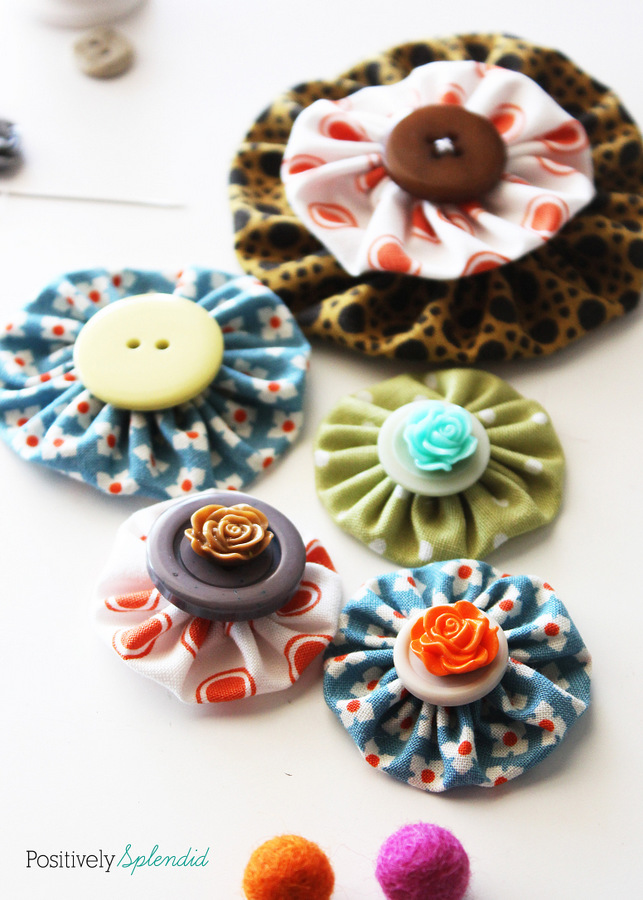
Make two dissimilar yo-yo'southward in ascending sizes to achieve a pretty layered look…
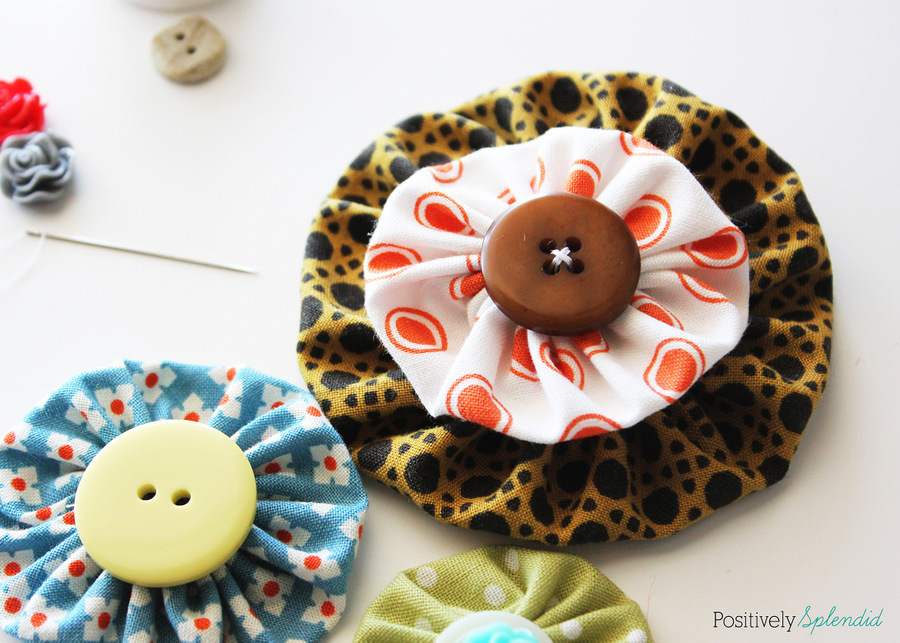
…or utilize them but on their own with just a pretty center.
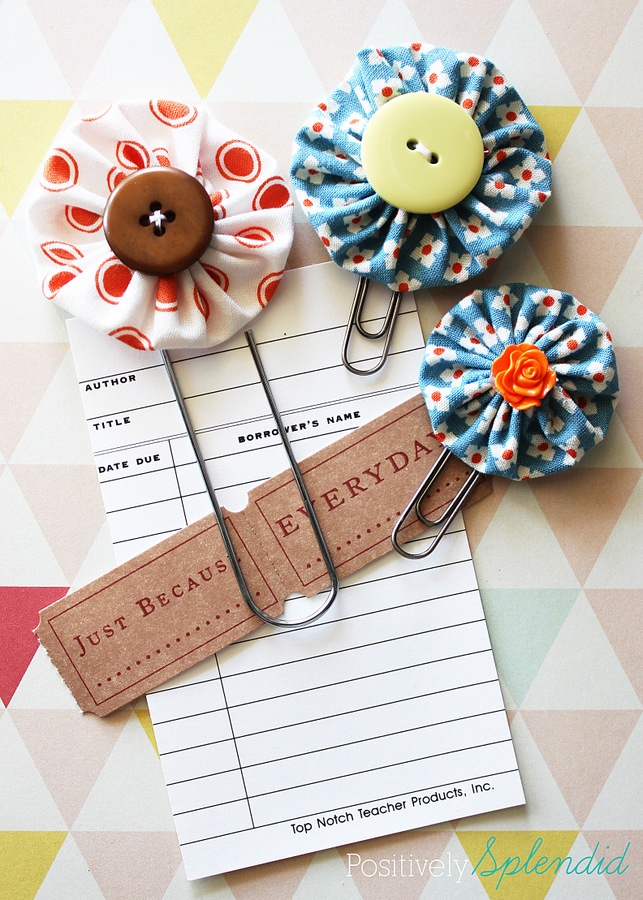
For a fun little project to utilize up the yo-yo'due south you make (considering y'all are sure to want to brand a bunch!), check out my Piece of cake Fabric Yo-Yo Clips!
Wanting even more inspiration for using upwards those scraps you take socked away? Be sure to bank check out these other terrific ideas, which all require just a minimal amount of fabric!
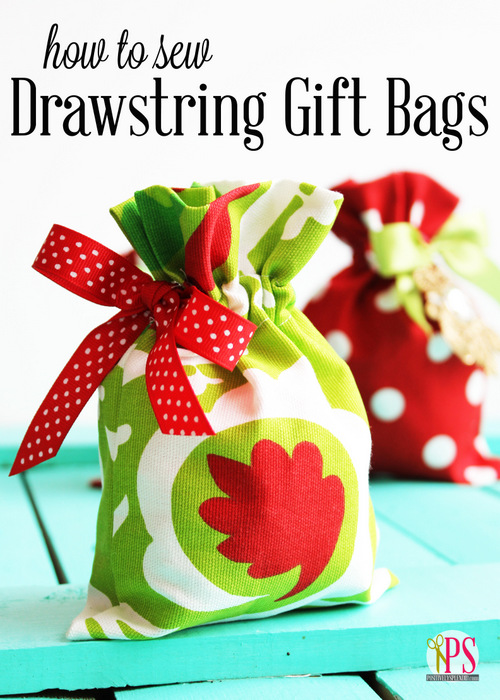
Drawstring Fabric Gift Bags
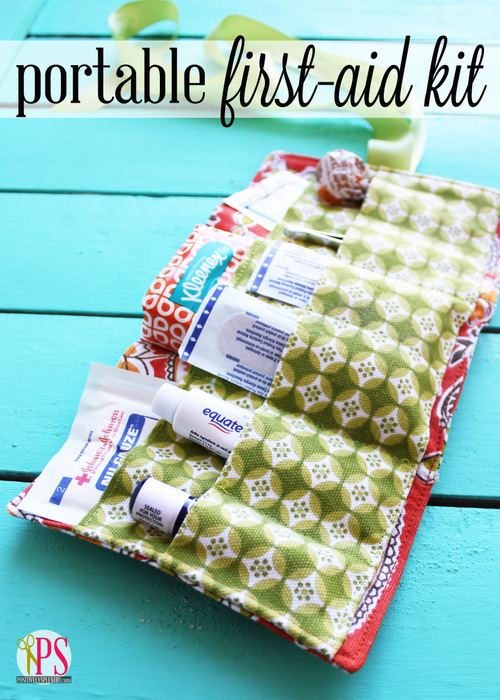
Portable Beginning-Aid Kit
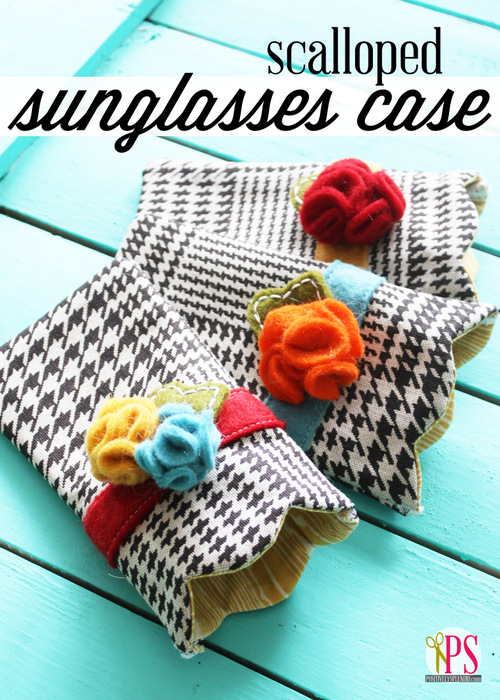
Scalloped Sunglasses Example
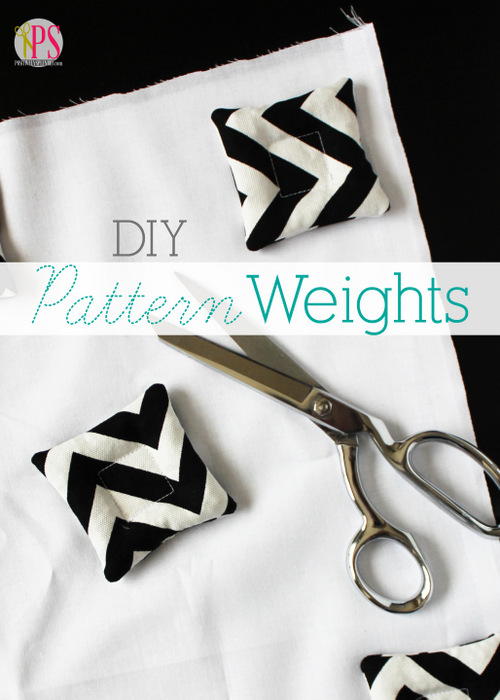
DIY Blueprint Weights
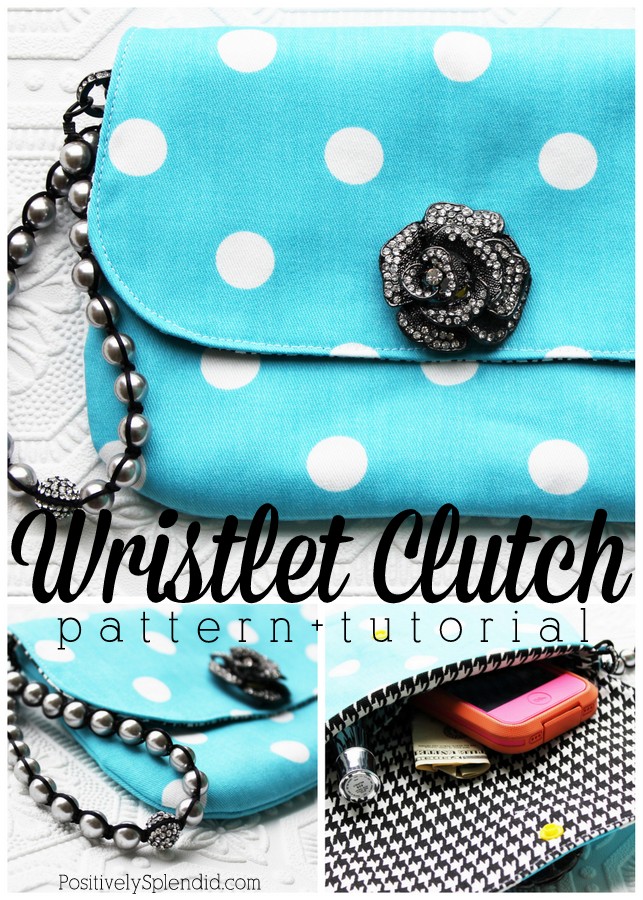
Elegant Wristlet Clutch
Having grown upwards in a home brimming with sewing notions and paintbrushes, Amy has a deep love for all things creative. On any given twenty-four hour period, you'll find her knee-deep in her latest creative attempt, with projects ranging from sewing and crafts to home decor and child-friendly ideas. Amy believes that everyone, regardless of skill level or experience, possesses the ability to create something beautiful, and Positively Splendid was born of her passion for helping others harness their innate creative potential.
Source: https://www.positivelysplendid.com/fabric-yo-yo-tutorial/
Belum ada Komentar untuk "How to Make Yo Yos Quick and Easy"
Posting Komentar